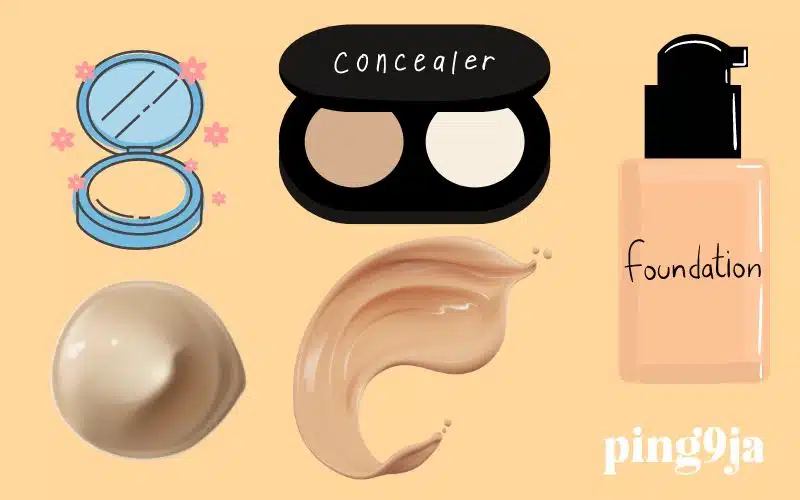
Foundation and Concealer are two products a lady cannot do without when applying makeup.
However, as we all know, having a perfect look is what everyone aims for when doing makeup. But do you know that these twins are essential in this process?
If you apply these products appropriately, your appearance will come out to shine with your natural beauty concealing the flawed skin.
Here is the detailed procedure on how to apply foundation and concealer for perfect-looking skin.
Makeup Tips on How to Apply Foundation and Concealer
Here is a simple procedure for applying foundation and concealer to your makeup in the easiest way possible.
Step 1: Prepare Your Skin
The first step in doing makeup is to consider your face’s cleanliness and moisture level. By doing this, you will wash out anything that might hinder the application of the cosmetic on the face.
After washing your face, use a body lotion that is appropriate for your skin type. It assists in smoothening the skin for the foundation and concealer.
If you have time then use a primer after making your skin moist. These ‘primes’ make it easier to fill out facial lines and minimize pores hence facilitating makeup to stay put longer.
The primer should be allowed to dry for about a minute or two before going to the next step.
Step 2: Choose the Right Foundation
Having the right foundation is important in ensuring that one looks natural. The color of the foundation that you choose should be as close to your skin tone as possible.
According to experts and users, the best approach to doing this is by swiping the colors on your jawline to see which kind of blends with your skin.
The etymology goes that if it blends in and one cannot see it on the skin, then it is the right color for the skin.
The type of foundation also plays a role. People with oily skin should avoid using regular foundations; instead, they should use matte or oil-free foundations.
In contrast, those who have dry skin should apply hydrating or dewy finishes on the surface of their face. Liquid foundations are used mostly due to their easiness while the powder foundation gives less coverage.
Step 3: Apply Foundation
Now that you have the right foundation, it is time for you to apply it. The first step is to apply a small quantity of the foundation on the back of the hand or a palette.
You can use your fingers, a makeup sponge, or even a brush when applying the foundation on your face.
For lighter coverage, you can blend it with your fingers, and you should use a damp beauty sponge for fuller coverage.
If you are using a brush, always move in circular motions to blend the foundation into the skin surface. Make sure you do not apply too much of the foundation at the locations where you have fine lines or wrinkles.
Step 4: Select the Right Concealer
As the name suggests, concealer is used to cover areas that cannot be covered by the foundation process, such as blemishes, dark circles, and the like.
There are two main types of concealer: one for the under-eye area and one for blemishes or spots. This is a perfectly natural remedy that will not harm the skin at all.
If you’re using it in the under-eye area, make sure to get one that is one or two colors lighter than your skin tone to give the area some light.
Also, ensure that the color you choose corresponds with your foundation color so that it blends well.
Concealers are also of different types taking into consideration the kind of formula that is used. Liquid concealer suits all skin types, whilst cream or stick concealer is more heavy-duty and is appropriate for patchy skin.
Step 5: Apply Concealer
When applying the concealer it is mandatory to create a target area. How can this be done? Use a beauty sponge or ring finger to blend the concealer into your skin and your foundation.
If you’re working on blemishes or spots, use your finger to dab a small amount of concealer directly on the pimple.
This can be done by applying a small brush, or even your fingertip and dab it on the skin before smudging it to appear as if it was blended with the rest of the facial makeup.
Do not apply too much of the product as this makes the blemish look worse as compared to before.
Step 6: Set Your Makeup
It’s now time to get your face ready for a beautiful look!
I would advise you to wear a translucent powder to ensure that your foundation and concealer do not fade; it will help to blend them in.
Pour a little powder on a fluffy brush, then, gently go through your T-zone area – forehead, nose, and chin.
If you’re lucky enough to have dry skin, then you do not have to worry about setting powder or you can use it minimally.
Another method of creating a long-lasting effect is to bake the makeup. This involves putting a lot of powder on the area around your eyes and allowing it to set for about five minutes then you wipe it off.
This technique makes sure that concealer does not form fine lines on the skin during the day.
Step 7: Final Touches
Lastly, once your foundation and concealer have been set, you can then proceed with the rest of your makeup application.
Next, apply bronzer to contour your face. You have to blush for that color which will give your face a pop.
Also, do not forget to spray your whole face with a setting spray for longevity of the look. This ensures your makeup holds well and stays fresh throughout the day.
Conclusion
You can now see that applying foundation and concealer isn’t as hard as you thought.
If you find the right products and techniques (like the ones we gave here), you can have a perfect complexion that will make you even more beautiful.
However, do not forget that your skin has to be prepared properly, and the foundation and concealer have to be chosen and blended properly. Everything is properly, lol.
I believe this information was useful and it solves your problem. Feel free to drop your suggestions and observations below.


